 Slack
Slack GitHub
 X
XDocumentation
Configuring Azure Active Directory as an OIDC provider 
This document explains how to configure Azure Active Directory as an OIDC provider (check general information and pre-requisites for using an OAuth2/OIDC Provider with Kubeapps ).
AKS-managed Azure Active Directory 
This setup assumes that you are using the
AKS-managed Azure AD integration
. Note that this is incompatible with the legacy AAD. We will use the v2 token version instead of v1.
If you really need to use
v1tokens, please let drop us an issue and let us know your use case.
Please refer to the official docs in case of doubt, here we just highlight some important steps during the configuration that will be required in Kubeapps.
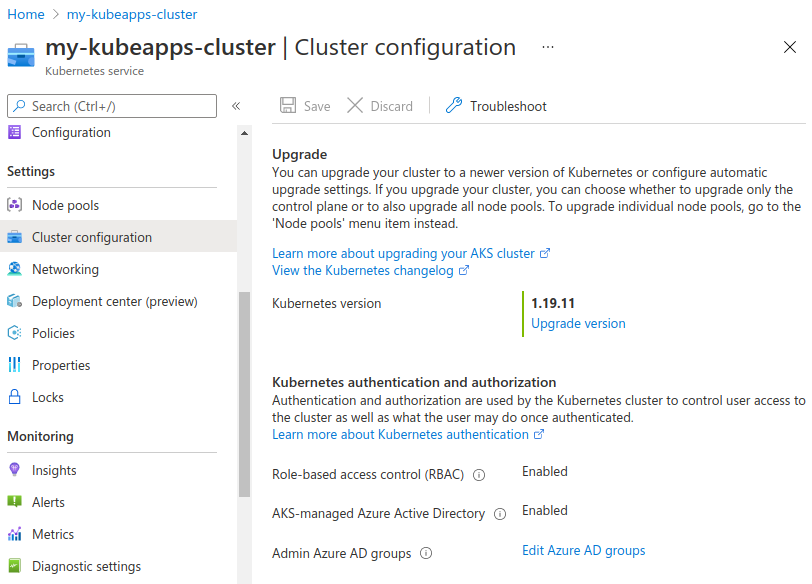
First, you need to verify that you have AKS-managed Azure Active Directory: Enabled.
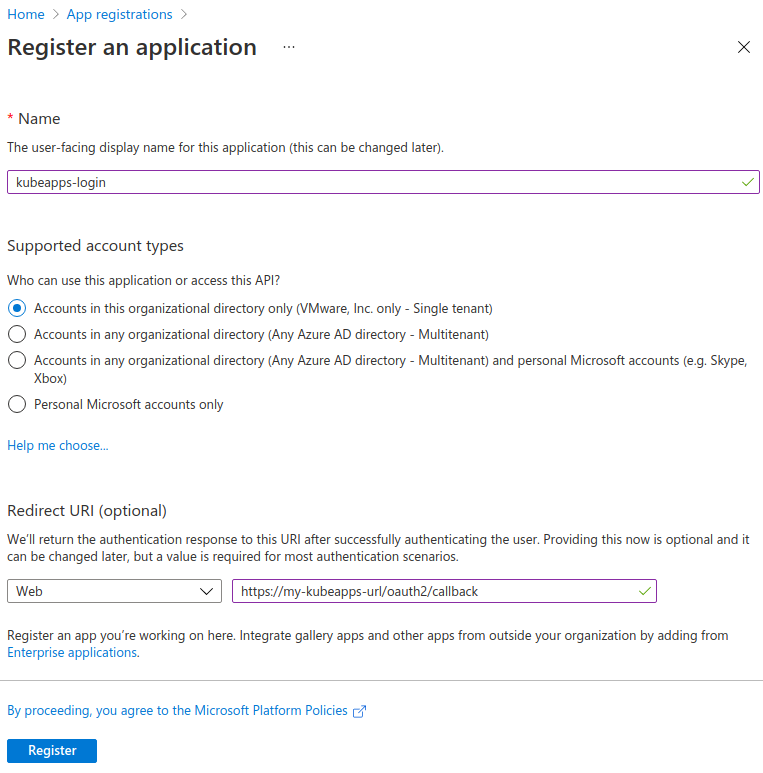
Then, you have to register an Application. Go to App registrations and click on Register an application. Enter a Name (any name is ok) and a Redirect URI (it should be https://<YOUR_KUBEAPPS_DOMAIN>/oauth2/callback unless you have manually changed it).
Replace
<YOUR_KUBEAPPS_DOMAIN>with your actual Kubeapps domain. Note that you will need to usehttpsinstead ofhttp.
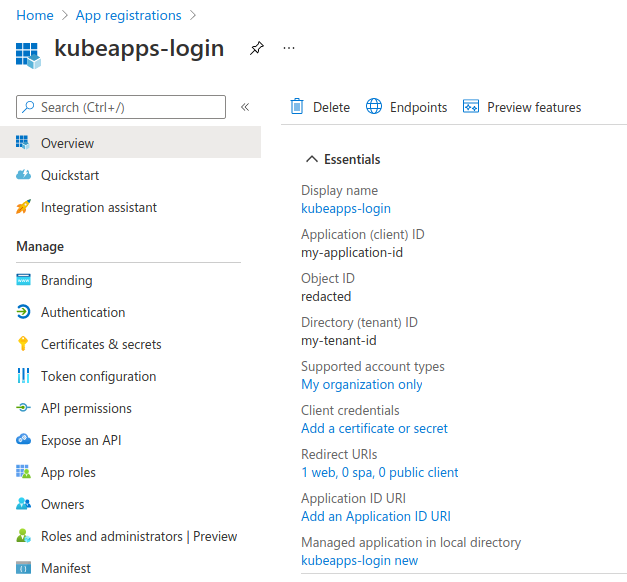
Once you got your Application created, click Overview to see the Application (client) ID and the Directory (tenant) ID. You will need these values later.
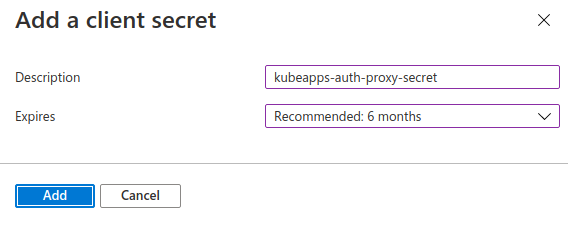
The next step is to create a secret for the Application. Click on Certificates & secrets and then on New client secret.
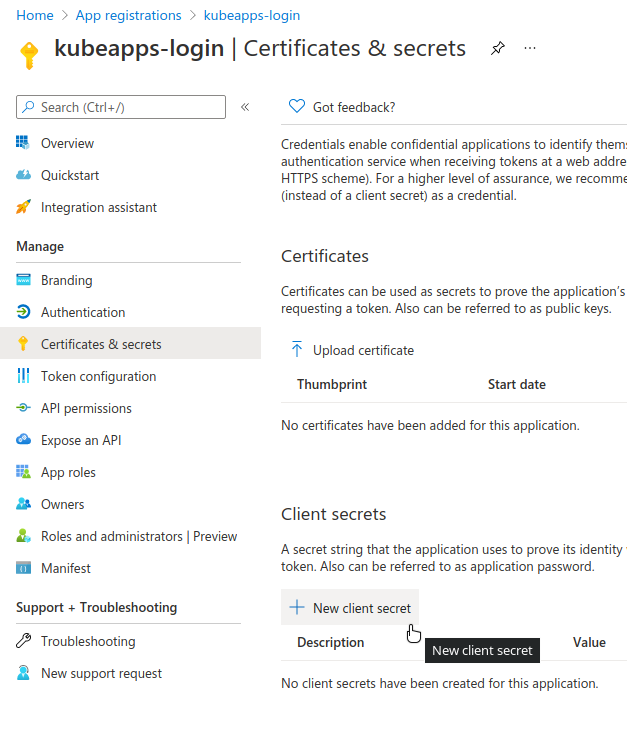
Fill the Description and Expires fields according to your preferences.
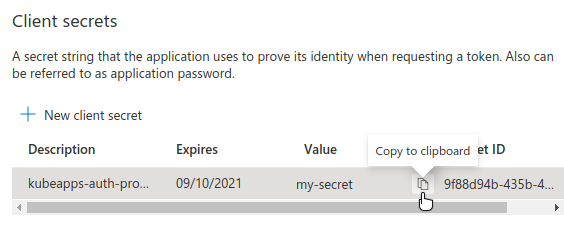
Next, the Value of the secret will appear and you will be able to copy it. You will need this value later.
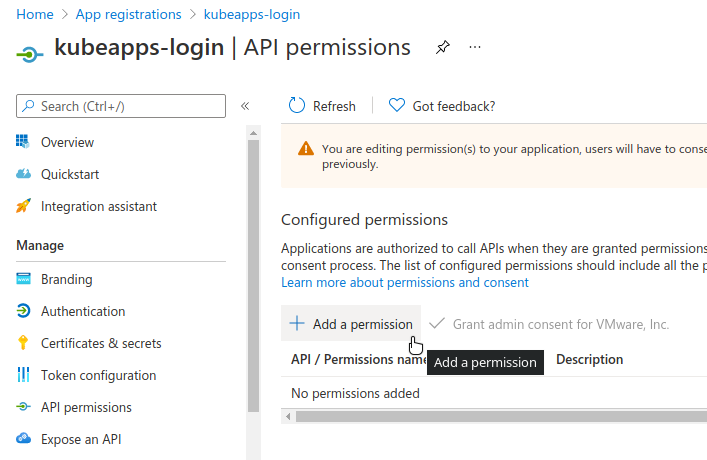
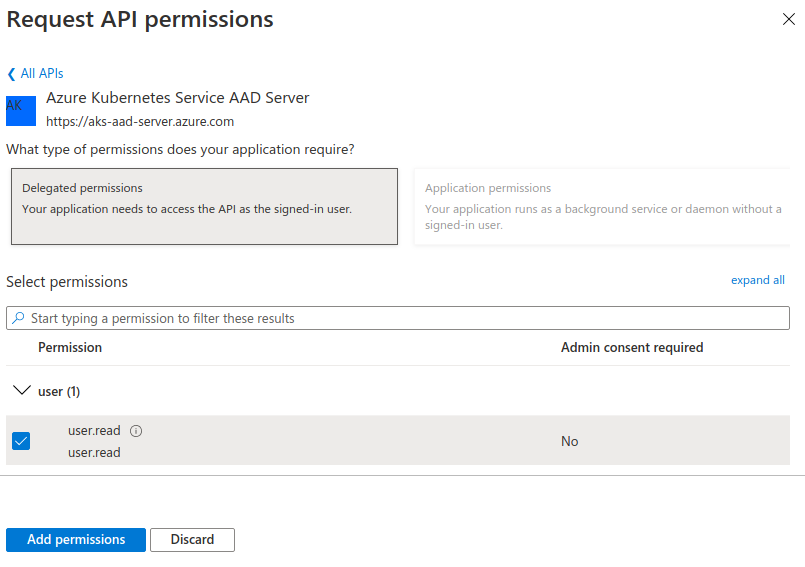
The following step is to define the permissions that the Application will need. To do so, go to API permissions and click Add a permission.
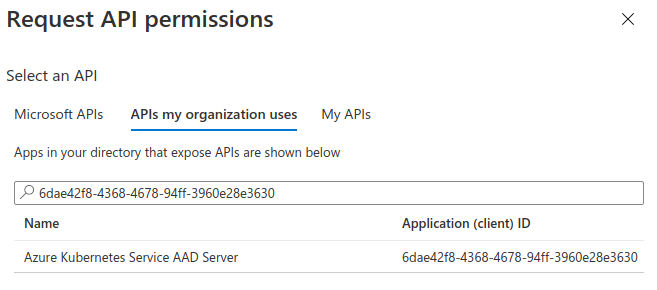
Then, in the APIs my organization uses enter this value 6dae42f8-4368-4678-94ff-3960e28e3630. This is a fixed Application ID corresponding to the Azure Kubernetes Service AAD Server globally provided by Azure.
You can also get this Application ID (
6dae42f8-4368-4678-94ff-3960e28e3630) by runningaz ad sp list --display-name "Azure Kubernetes Service AAD Server"and inspecting theappIdvalue.
Next, select the user.read permission and click Add permissions.
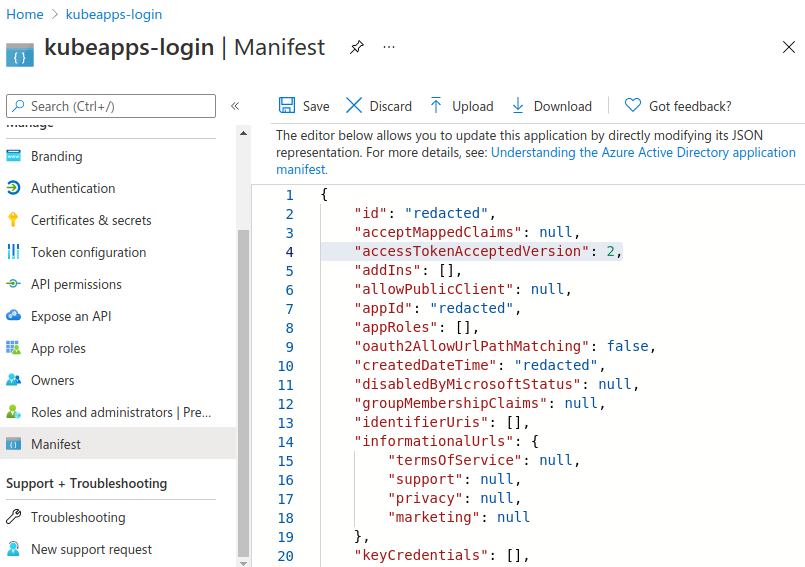
Then, go to Manifest and change accessTokenAcceptedVersion from null to 2. It will make the Application generate v2 tokens instead of v1.
At the end of these steps, you will have created an application, generated a secret, granted it with 6dae42f8-4368-4678-94ff-3960e28e3630/user.read permissions and changed the token version to v2. You also will have the following information:
Application (client) ID, for instance,<MY-APPLICATION-ID>.Application secret, for instance,<MY-SECRET>.Directory (tenant) ID, for instance,<MY-TENANT-ID>.
The next step is just configuring Kubeapps to use all these values.
frontend:
  proxypassAccessTokenAsBearer: true # required to pass the access_token instead of the id_token
authProxy:
  enabled: true
  cookieSecret: <MY-COOKIE-SECRET> # See https://oauth2-proxy.github.io/oauth2-proxy/docs/configuration/overview/#generating-a-cookie-secret
  provider: oidc
  clientID: <MY-APPLICATION-ID>
  clientSecret: <MY-SECRET>
  extraFlags:
    - --oidc-issuer-url=https://login.microsoftonline.com/<MY-TENANT-ID>/v2.0 # required for azure
    - --scope=openid email 6dae42f8-4368-4678-94ff-3960e28e3630/user.read # required for azure, exactly this string without modification
Substitute
<MY-COOKIE-SECRET>,<MY-APPLICATION-ID>,<MY-SECRET>and<MY-TENANT-ID>with your values.
We highlight here:
- The issuer is
https://login.microsoftonline.com/<MY-TENANT-ID>/v2.0(replacing<MY-TENANT-ID>with your ownDirectory (tenant) ID), since we are using v2 tokens. - The scope is exactly
openid email 6dae42f8-4368-4678-94ff-3960e28e3630/user.read.- Besides using the
openidandemailscopes, we also need6dae42f8-4368-4678-94ff-3960e28e3630/user.read. This one corresponds to the Application ID of the global Azure Kubernetes Service AAD Server. This way, you will able to get the user’s email to get access to the protected resource that is AKS.
- Besides using the
In
v1tokens, you had to pass this value as part of the--resource=6dae42f8-4368-4678-94ff-3960e28e3630flag, but inv2tokens, this claim is performed just using the scope.
Troubleshooting 
If you are getting a 500 error with the following message: could not get claim "groups": failed to fetch claims from profile URL, it is probably due to a
issue in oauth2-proxy
in the v7.3.0. You can work around it by using the former v7.2.1 version as follows:
authProxy:
  ...
  image:
    registry: docker.io
    repository: bitnami/oauth2-proxy
    tag: 7.2.1
Azure Active Directory integration (legacy) 
For setting up an Azure Kubernetes cluster (AKS) with Azure Active Directory (legacy) you can follow this guide . At the end of the tutorial you should have an Active Directory Application (Server). That’s the Application from which we will get the needed parameters.
- Client-ID: Azure Active Directory server Application ID.
- Client-secret: A “Password” Key of the server Application.
- OIDC Issuer URL:
https://sts.windows.net/<Tenant-ID>/. The Tenant-ID can be found atHome > Default Directory - Properties > Directory ID.
Note: If you are using an nginx reverse proxy to get to kubeapps you might need to increase the proxy_buffer_size as
Azure’s session store is too large for nginx
. Similar changes might also be required for other reverse proxies.